
A Ten Step Process For Making A Denture
By Sarfraz Ahmed

Although dental implants are an increasingly popular means of tooth restoration for patients with complete edentulism, not everyone is ready or suited for this procedure. Traditional dentures always provide a predictable result or may be required to help patients transition from dentures to implant-supported dentures.
1. Pouring the Model

First take a first impression of the patient’s mouth with tablespoons for edentulous patients. It may be necessary to reinforce the circumference of the spoon with wax.
Take an impression of the tartar with a vibrator to remove bubbles and cavities.
2. Fabricating the custom tray and bite rim

Your lab technician will fabricate a custom tray and occlusal wax margin The occlusal margins should be contoured to provide adequate labial support and to accommodate the future incisal position, occlusal plate, the vertical dimension and the center line. Select the most appropriate tooth mode and tooth shade for your patient, record these details and other information on your x-ray and send all parts back to the dental laboratory.
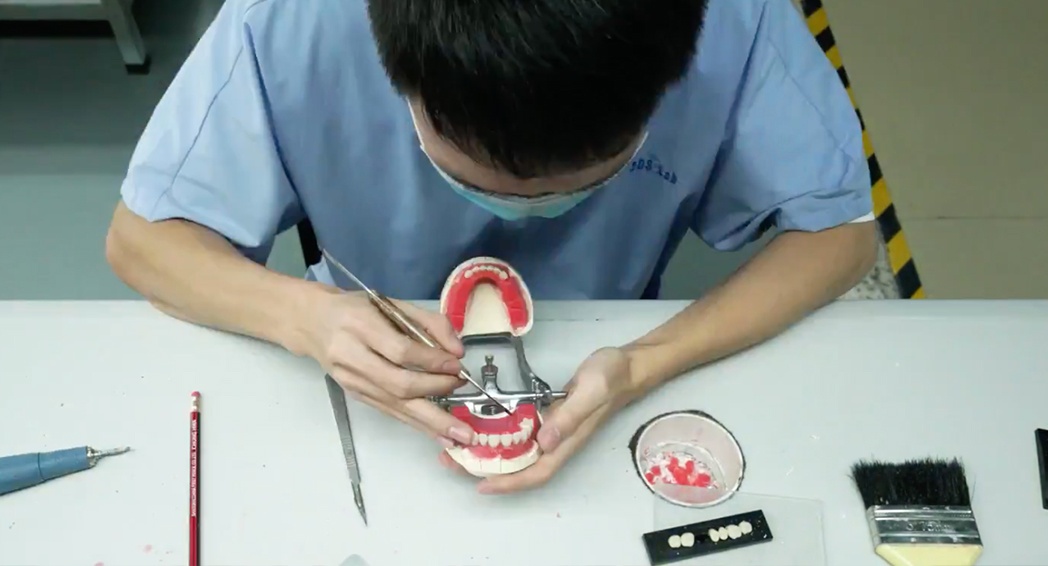
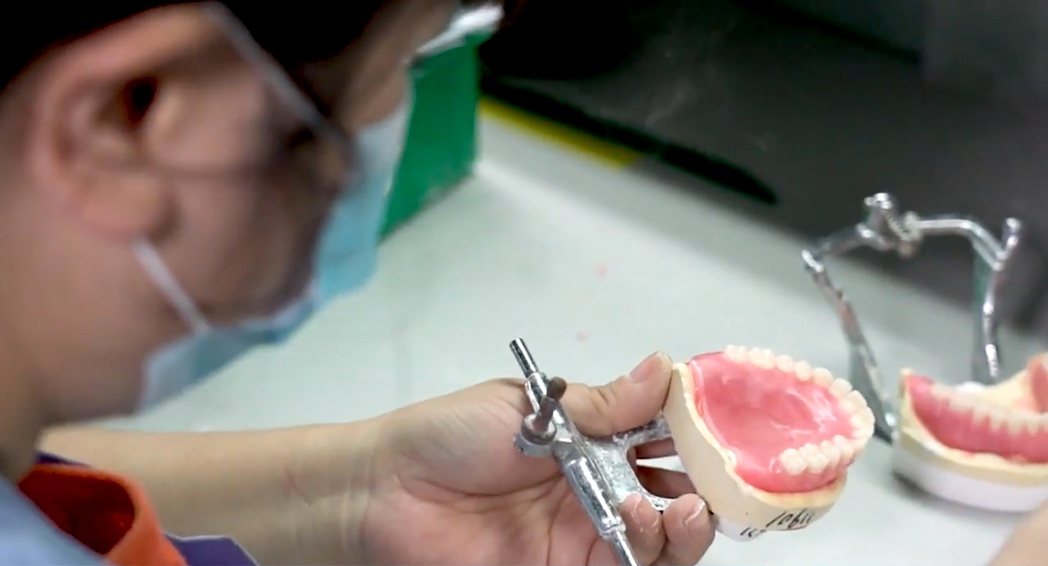
3. Articulating the models
Dental indexes and fixes master models created from an individual tray impression and occlusal measurements by the articulator to represent the patient’s jaw relationship.
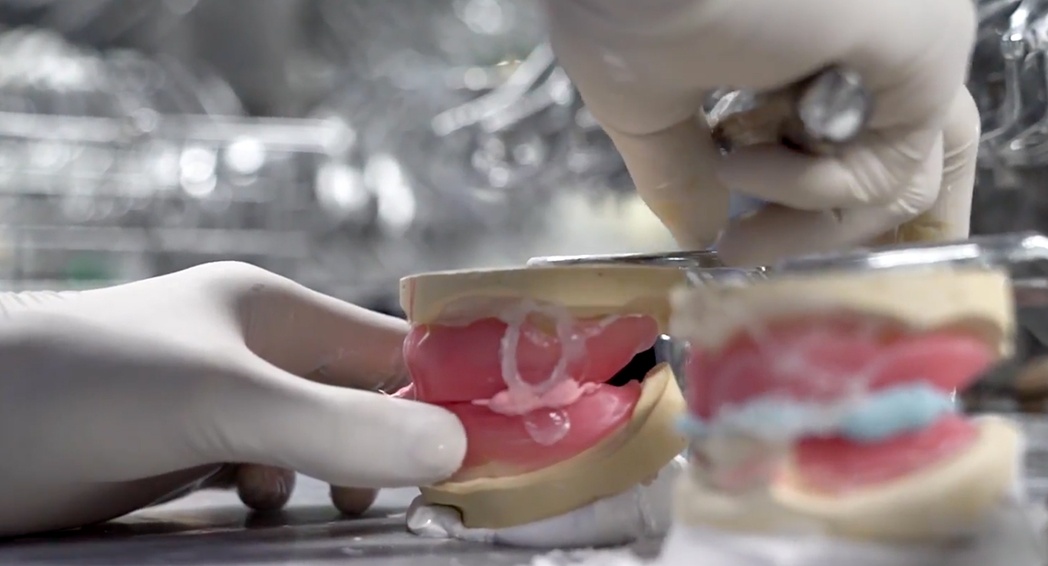
4. Setting Up the Teeth
Your dental technician positions the teeth according to the desired occlusal pattern. Ensure proper form and function.
5. Waxing
Once all teeth are properly aligned, the dental technician will apply additional wax around the teeth, gradually building up the correct gum line. Sufficient wax is added to properly support the gums of the facial muscles and give them a natural look. The wax can be slightly perforated to prevent the acrylic gum from feeling abnormally smooth after the denture is made.
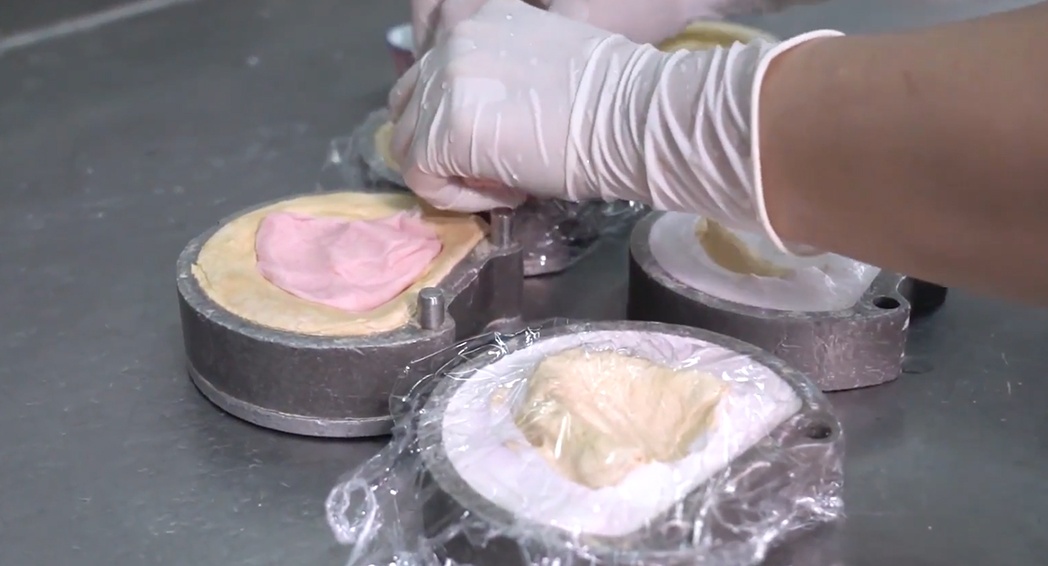
6. Flasking
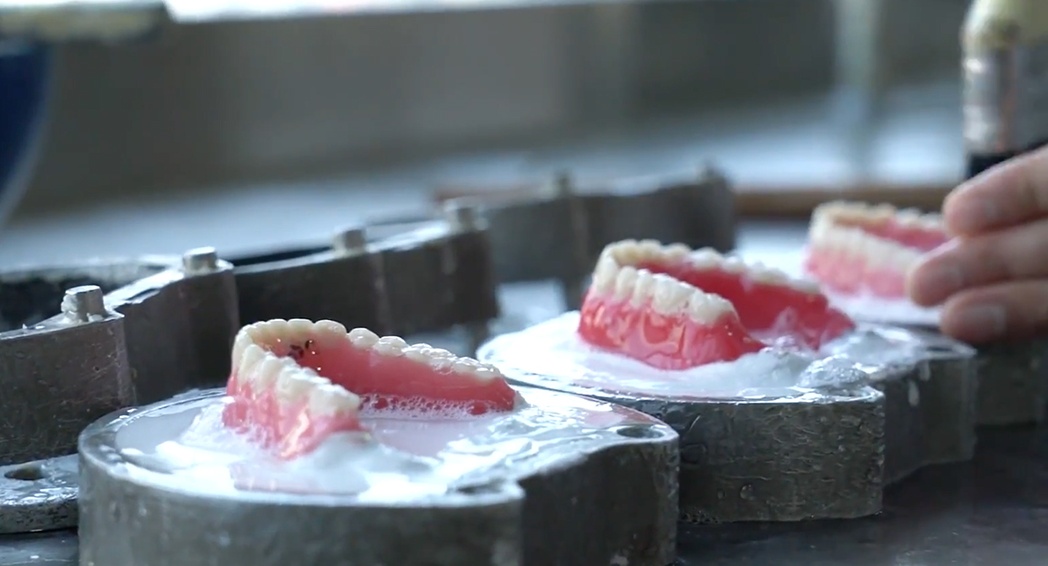
Once both the dentist and patient have accepted the dental adjustments, the denture is ready for treatment. The first step is to cast the prosthesis by placing the model with the prosthesis in the lower ampoule and fixing it with plaster. After the plaster has dried, the upper balloon is put on and filled with more plaster. The flask is then heated until the wax is sufficiently melted. Then the bottle is opened, the wax is thoroughly rinsed out and the teeth and the denture mold are filled with acrylic.
7. Acrylic Mixing

The technician carefully weighs the monomer and polymer. He carefully mixes them to make the acrylic.
8. Acrylic Pressing
Once the mold is prepared, the acrylic is packed into the bottle and the two halves are rejoined.
The prosthesis is then polymerized under pressure until it is sufficiently hard. The prosthesis is rinsed, plaster-free and ready for finishing.
9. Finishing
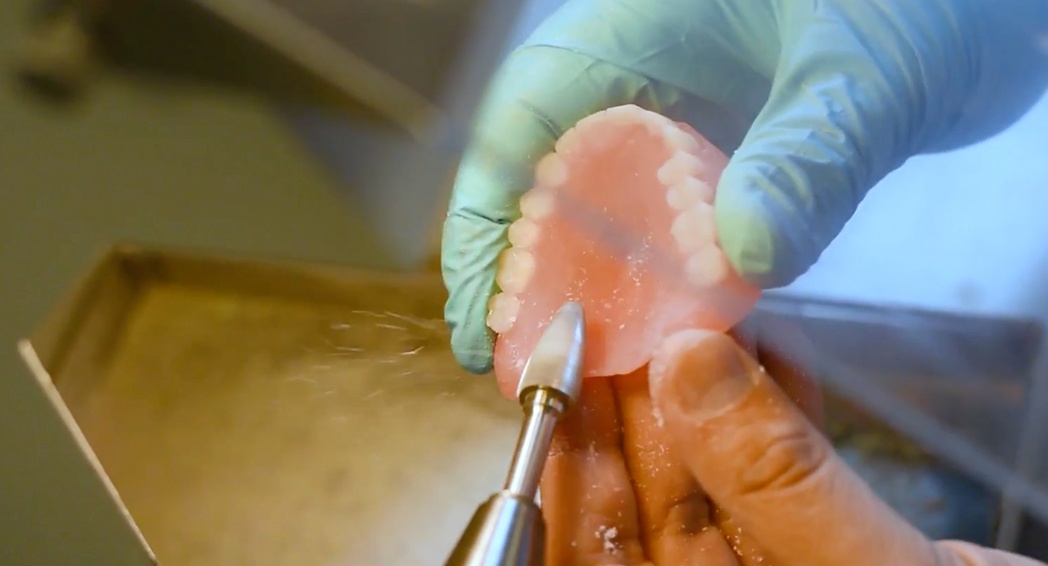
Each prosthesis is finished by hand using special burs to remove excess acrylic around the edges and in the area of the building. The joint is checked and adjusted if necessary.
10. Polishing
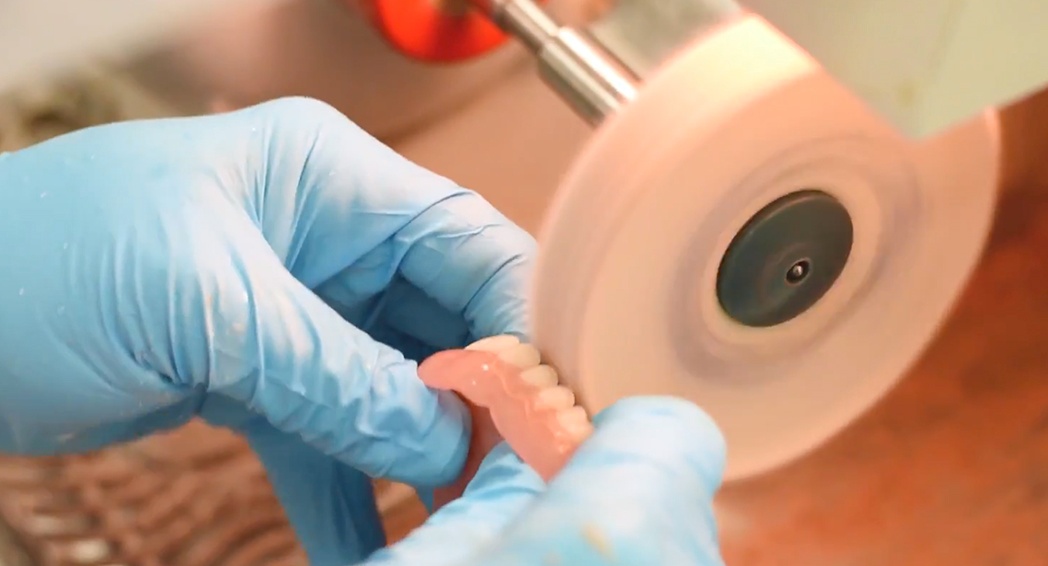
Finally, the prosthesis is polished and smoothed with a mop and polishing paste. For natural luminosity.
Our licensed and skilled technicians are constantly to be had for case consultations and might help you with case planning. Get in touch now.
2 Comments
This is a great tip particularly to those new to the blogosphere.
Short but very accurate information… Maany thanks
for sharing this one. A must read article! https://Bandur-art.Blogspot.com/2024/08/the-ultimate-guide-to-no-mans-sky-mods.html
Thhis is a great tip particularly to those new to the blogosphere.
Shodt but very accurate information… Many thanks for sharing this one.
A must read article! https://Bandur-art.Blogspot.com/2024/08/the-ultimate-guide-to-no-mans-sky-mods.html